Customizing Your E-Splice Website

Time to make it “you” with content, your logo, and custom settings

Documentation for everything

We've written extensive documentation for components, software, daily routines and more so you never have to worry about how to operate your Integrated Business Platform.

Below is an outline of some of the modules that are available with the Integrated Business Solution

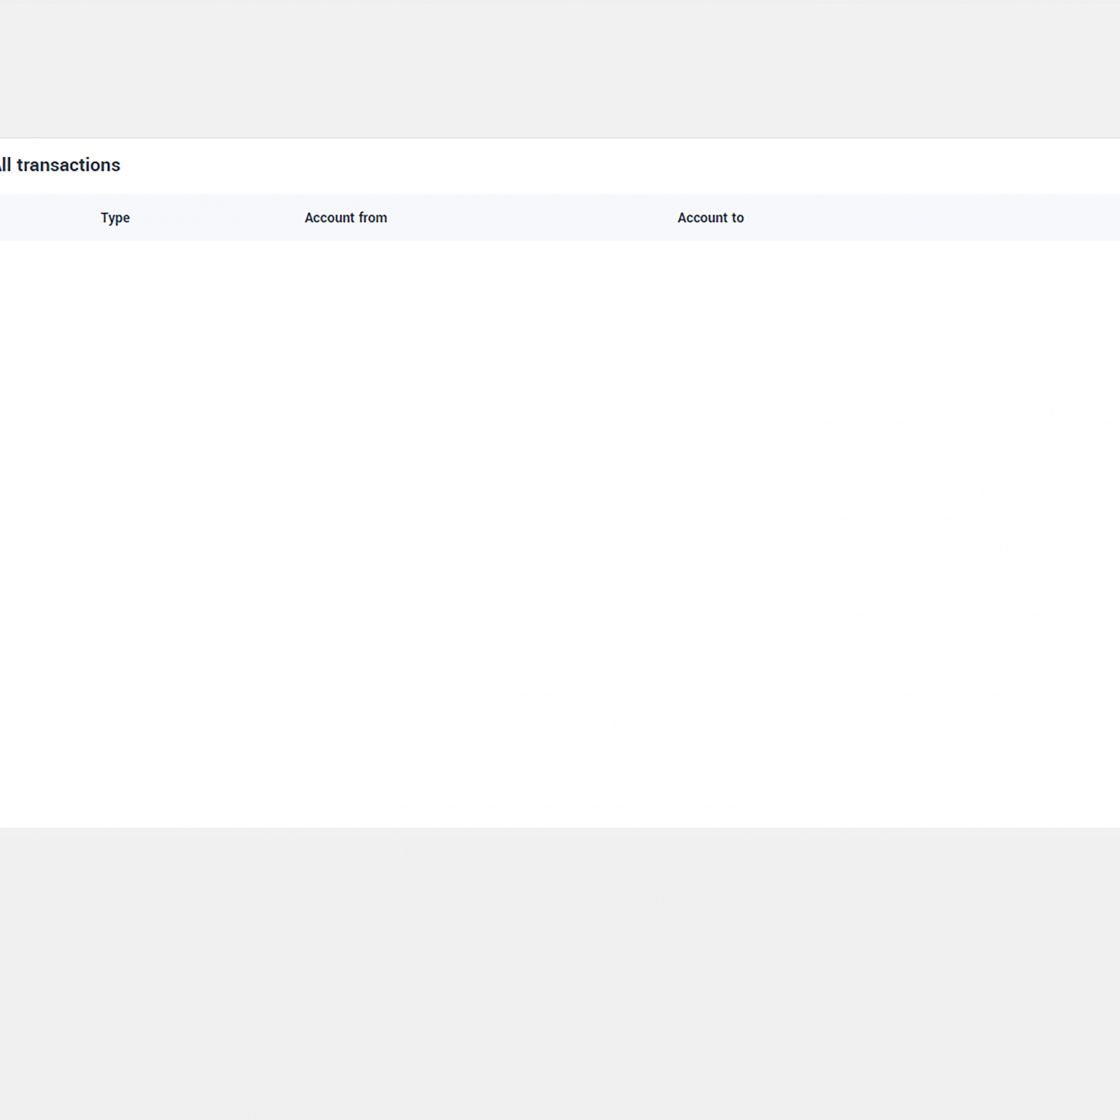
Accounting_Accounts_CC

Overview of Merchant Accounts 

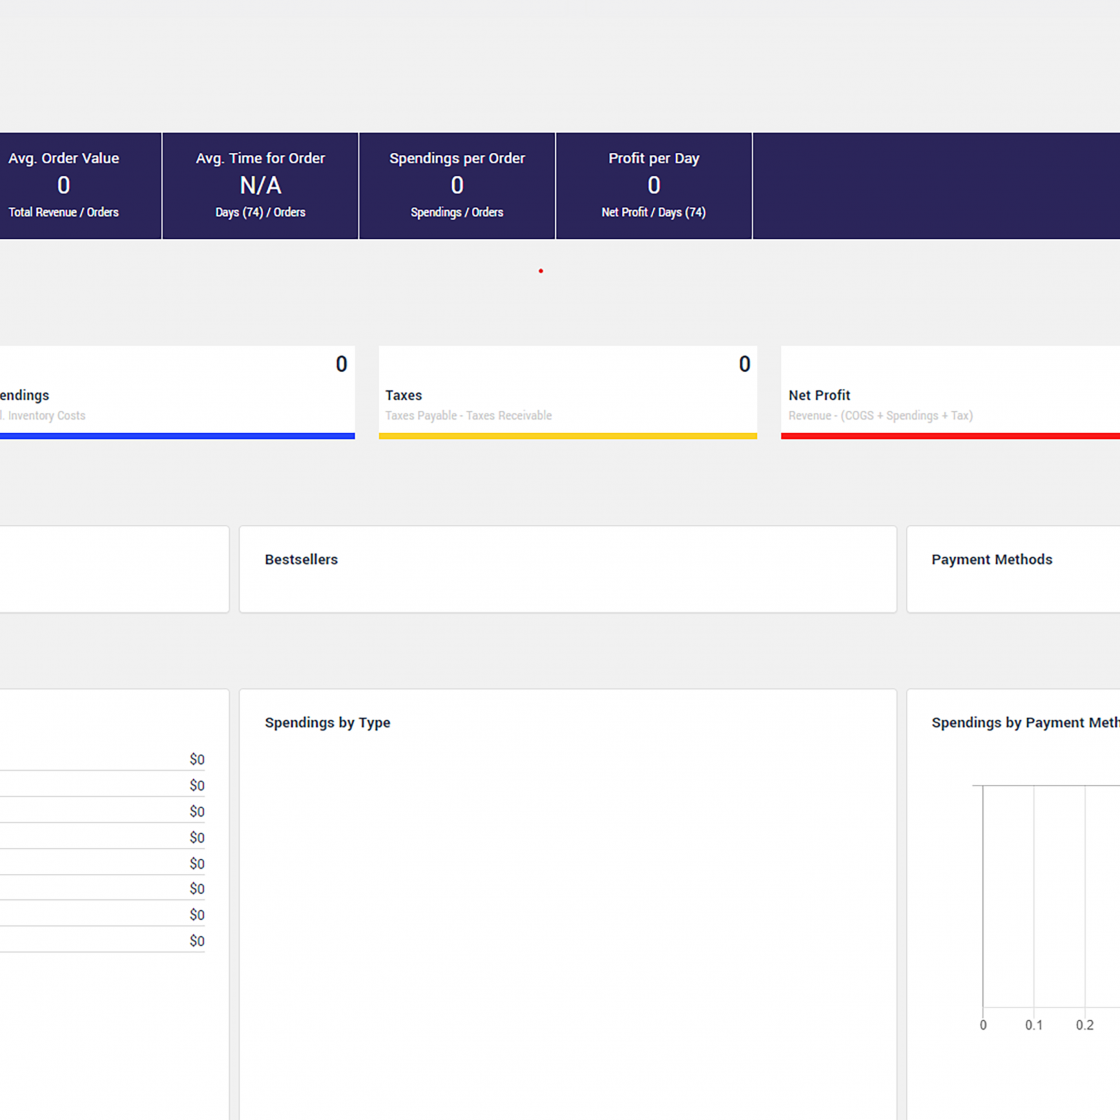
Accounting_Dashboard_CC

Fully Integrated Accounts Overview 

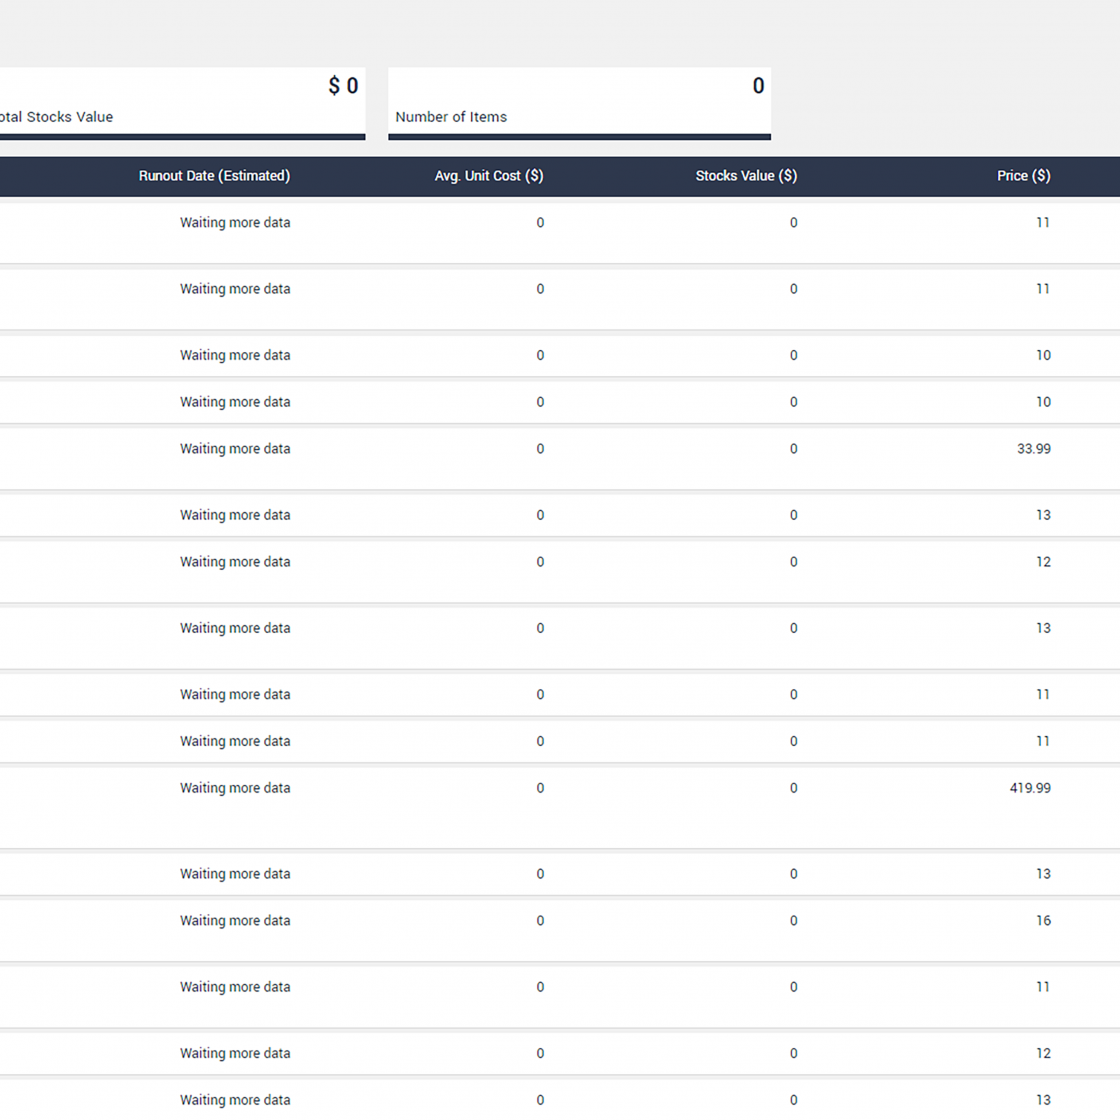
Accounting_Inventory_CC

Manage your Inventory all from a Single Location

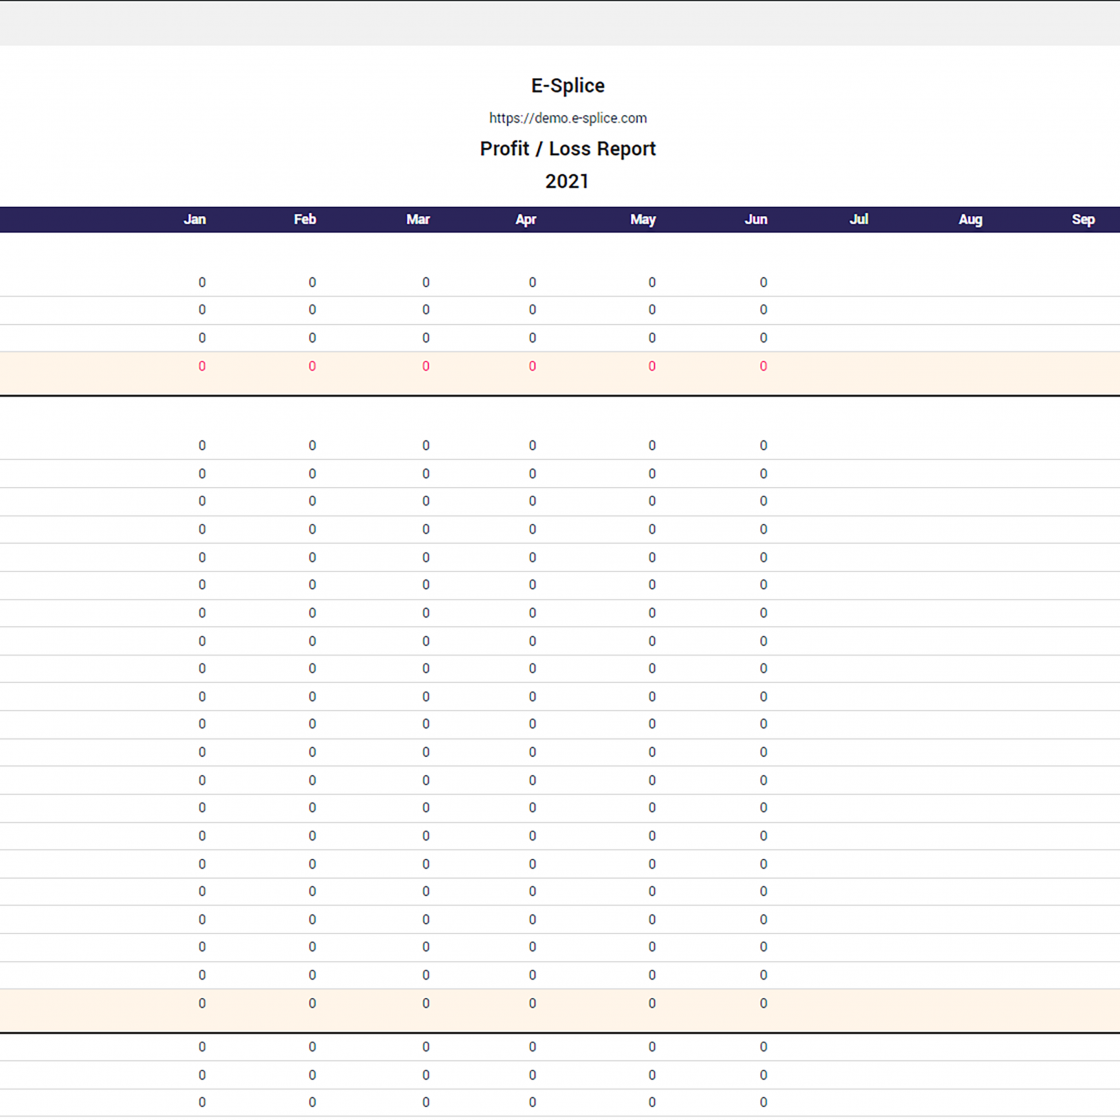
Accounting_Reports_CC

Run your Accounting P&L Reports

Accounting_Orders_CC

Run Order Reports and Export them in your Desired format

Accounting_Spendings_CC

Run Expense, Costs and Acquisition Reports and Customize the Categories Associated

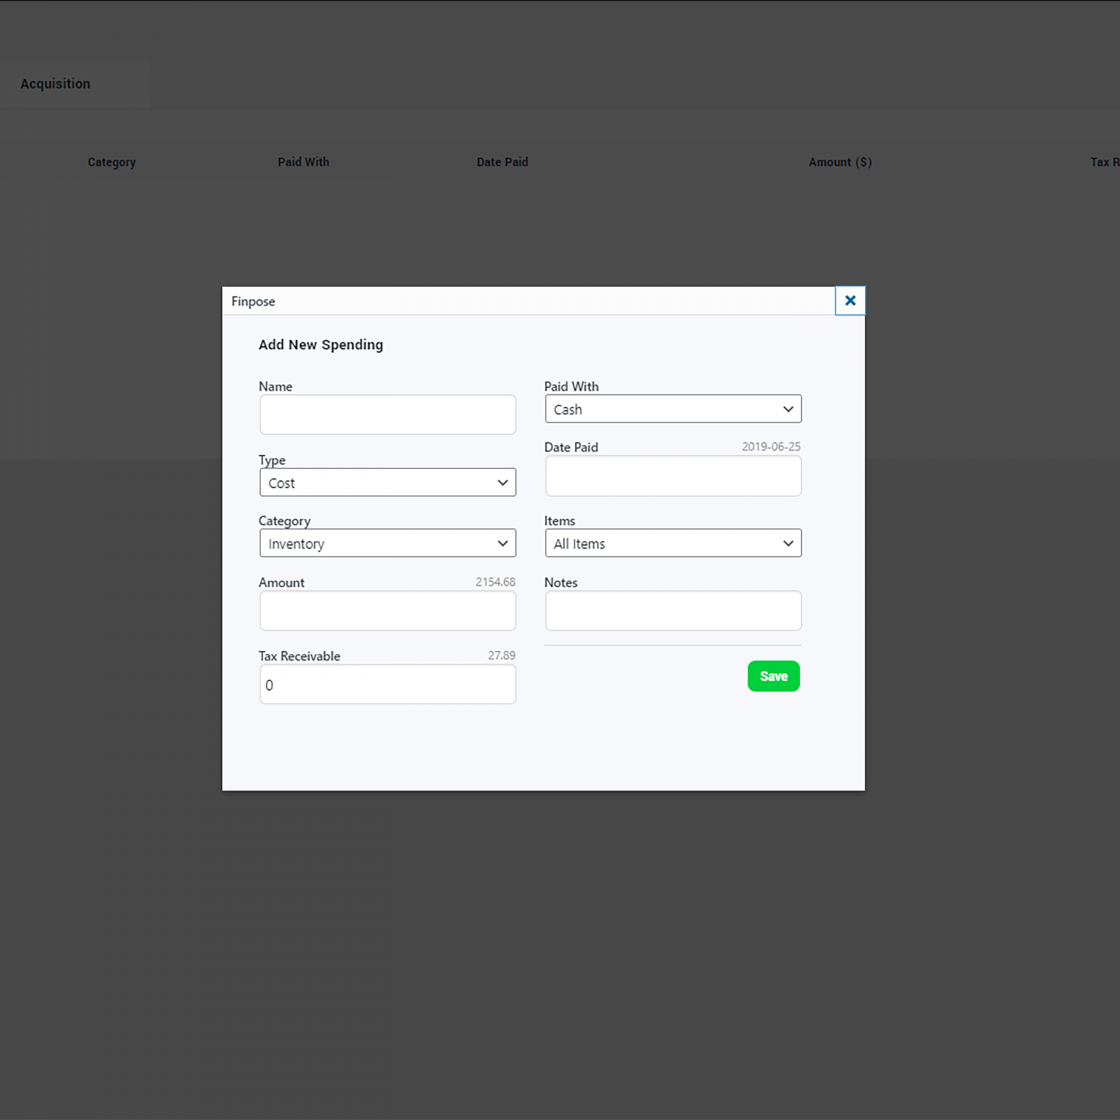
Accounting_Spendings_Add-New_CC

Add new Expense, Costs and Acquisition Spendings from the same location

Accounting_Taxes_CC

Keep up with all your Taxes Integrated with your platform

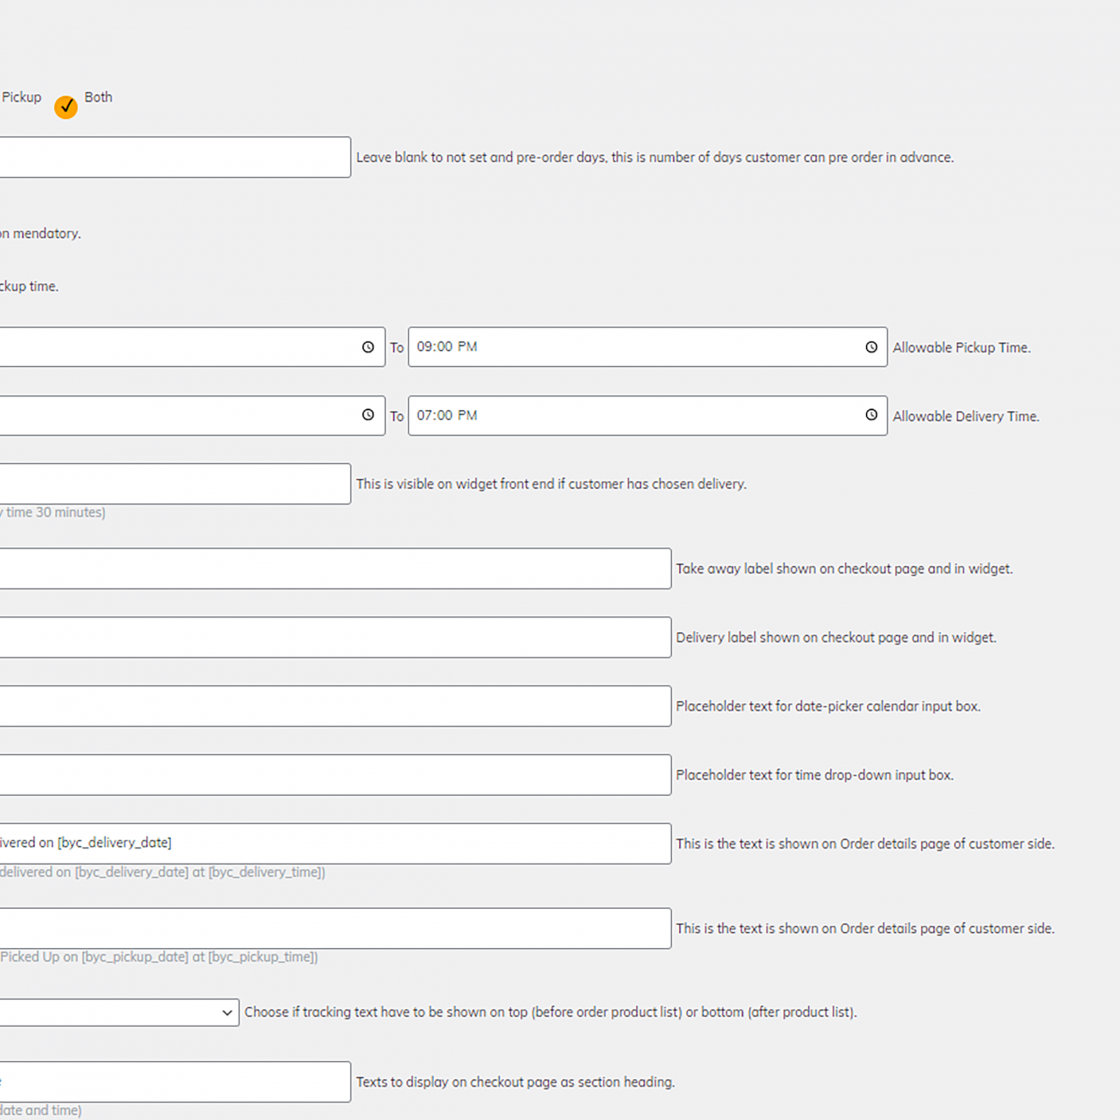
Order_Delivery_Time_CC

You can Customize all Details with your Ordering Availability, Locations and Costs

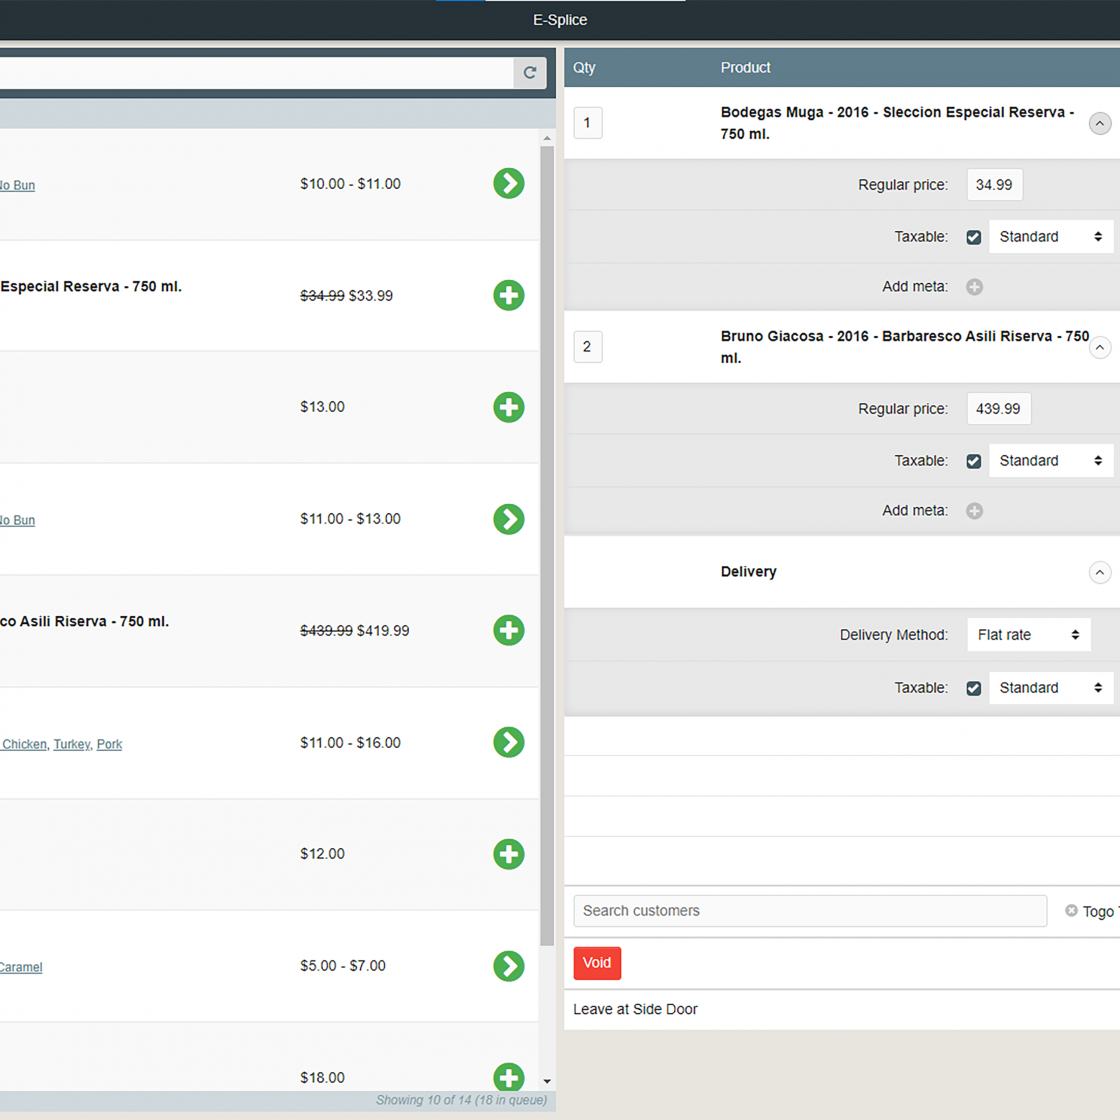
Point-of-Sales_CC

We have Integrated your own Point of Sales System. This is fully Integrated Live with your On-Line Platform. Check Customers out from any IOS, Android and Microsoft devices.

 How to create and edit your menu with E-Splice

Here are three ways to create a new menu page.

Method #1 Begin with a page template.

Then replace images and text with your own menu blocks from products or using the block editor in E-Splice

To use a pre-built landing page for your menu, click on the C9 Blocks feather icon and select “Page Templates”

original covert nine togo create menu section template 1 e1623547396887

Select the “Restaurant Style Menu” template

c9 restaurant page template e1623547484976

Start editing the menu links.

Method #2 Begin with section templates to build your menu page.

Then replace images and text with your own.

First, click on the Blocks feather icon and select “Section Templates”

original covert nine togo create menu section template 1 e1623547396887

Scroll down and select a template.

covert nine togo create menu section template scaled 1 e1623547591463


Repeat this process to add as many section templates as you need on the page. Then, start editing!

Method #3 Take a design of your own and create it from blocks.

  • Product Blocks: A set of blocks that come with the ECommerce plugin that you can sort by popular, category, tag, or select specific products to display as we have on the E-Splice
    Homepage.
  • C9 Grid: Arguably one of the most powerful, and complex responsive blocks with background video, image, and overlay support. All blocks should be placed in C9 Grid blocks so your site is responsive for mobile devices
  • C9 Heading: Heading blocks with the ability to override font sizes, styles, and a subheading powered by Bootstrap classes
  • C9 CTA Bar: A responsive call-to-action bar with a button that can link to an email sign up or buy page with alignwide and alignfull support
  • C9 Vertical Tabs: Vertical set of tabs that stack on mobile with full accessibility compliance from Bootstrap
  • C9 Horizontal Tabs: Horizontal tabs that scale down on mobile for clear and concise information on any screen size
  • C9 Toggles: Two styles of toggles for hiding information behind a click or a heading.
  • C9 Image Carousel: Responsive slider for images with captions and subheadings. Change the animation speed, auto paging, and the display of arrows and indicators
  • C9 Post Grid: Display a grid of posts, pages, or any custom post type in E-Splice, with a wide range of filters and settings for exactly what you want to display in a responsive grid
  • C9 Carousel: A responsive slider carousel that can go inside of any C9 Grid element. Make a slider of logos, built in E-Splice blocks like galleries, paragraphs, media & text, or videos
  • C9 Social Share: A simple set of social sharing buttons that utilize the FontAwesome 4.7 icon set. Buttons links are pre-configured for popular social networks.
  • + many more
 

Method #3 Take a design of your own and create it from blocks.

  • Product Blocks: A set of blocks that come with the ECommerce plugin that you can sort by popular, category, tag, or select specific products to display as we have on the E-Splice
    Homepage.
  • C9 Grid: Arguably one of the most powerful, and complex responsive blocks with background video, image, and overlay support. All blocks should be placed in C9 Grid blocks so your site is responsive for mobile devices
  • C9 Heading: Heading blocks with the ability to override font sizes, styles, and a subheading powered by Bootstrap classes
  • C9 CTA Bar: A responsive call-to-action bar with a button that can link to an email sign up or buy page with alignwide and alignfull support
  • C9 Vertical Tabs: Vertical set of tabs that stack on mobile with full accessibility compliance from Bootstrap
  • C9 Horizontal Tabs: Horizontal tabs that scale down on mobile for clear and concise information on any screen size
  • C9 Toggles: Two styles of toggles for hiding information behind a click or a heading.
  • C9 Image Carousel: Responsive slider for images with captions and subheadings. Change the animation speed, auto paging, and the display of arrows and indicators
  • C9 Post Grid: Display a grid of posts, pages, or any custom post type in E-Splice, with a wide range of filters and settings for exactly what you want to display in a responsive grid
  • C9 Carousel: A responsive slider carousel that can go inside of any C9 Grid element. Make a slider of logos, built in E-Splice blocks like galleries, paragraphs, media & text, or videos
  • C9 Social Share: A simple set of social sharing buttons that utilize the FontAwesome 4.7 icon set. Buttons links are pre-configured for popular social networks.
  • + many more

E-Splice Customizer Settings

There are a multitude of ways to customize the look and feel of your E-Splice site. The best place to start is from within the Customizer of your E-Splice admin should you want to customize the fonts, logo, sidebars, and social links on your theme. You can also enter in custom CSS, and a tracking code for Google Analytics from within the customizer

From the E-Splice Admin goto Appearance > Customize

Some of the available settings in the customizer. (Screenshots below) One important note is that some of the settings will not display in the customizer. To see your site when you’re done making changes, exit out of the customizer and view your site frontend link.

  • Site Identity – Edit your site logo, title, tagline, and site icon for the browser icon and bookmark image. We recommend a SVG images for logos and site icons
  • Branding – Use the default fonts or pick your own Google fonts
  • Posts – choose whether or not to display widgetized sidebars on Posts, Archive pages, and whether or not to display author information on blog posts
  • Social Media – enter links for social media accounts for your venue that show up in the site footer
  • Footer – Hide or show the site search in the footer, and enter a copyright message to display on the site on every page
  • Menus – Add the menu you imported during the setup process or make your own custom menus for the footer like we did in the site demo
  • Widgets – Assign sidebar widgets should you choose to use those on your blog posts page or archive page, and assign widgets to the universal site footer.
  • Homepage Settings – Set a custom homepage and a default blog posts page. We recommend setting up a static home page as we have in the E-Splice site demo.
  • ECommerce – Customize settings related to ECommerce including activating or deactivating the Site Notice, changing image thumbnail sizes, product catalog settings, or checkout settings
  • Additional CSS – drop in any custom CSS you’d like added to the site to change the design, layout, or for any style edits